

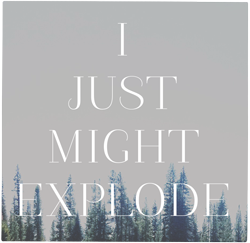
TGIF is a series of stuff I do on weekends. Of stuff you can do on your weekend too. Posted (almost) every Friday morning.
So I walk into Eden, easily the best boutique in Portland, every time I walk by. This is usually once a week. It’s a gorgeous store, think vixen 1920s (or check out these photos by Clever Nettle). I’ve been eyeing this pretty gold and black striped paper there for months and finally caved a few weeks ago and bought with the intent to turn into some sort of DIY. And turn it into some sort of DIY, I did.

To make this Monogram Wall Art, you will need:
+ Some sort of pretty paper. Paper Source (or other stationery stores) usually has a nice selection of pretty papers ranging from the $5-10 range. I wish I had a link for you to the one I used, but I don’t know who the vendor is.
+ Duralar or other thick acetate.
+ Acrylic paint. I used some Golden brand acrylic paint I had on hand.
+ Thick paintbrush.
+ Spray adhesive. I used Super 77.
Use a generous amount of acrylic paint and begin my slowly drawing on the initials to the Duralar or acetate. I scribbled out what I wanted mine to look like on a piece of paper before I painted mine on for a reference.


I very carefully touched it up with paint and dolloped on a lot of paint so there would be texture. Next all you need to do is wait for the paint to dry, cut out the monogram, and use a spray adhesive on the back to adhere it to your paper. I made some small markings with a pencil on the paper so I knew where to stick it before I sprayed the adhesive. Be careful when laying down the monogram because the spray adhesive is usually quite sticky and hard to manage.
You could also hand-stitch on the letters in a few spots if you don’t have spray adhesive on hand. And that’s it! You can frame yours (maybe using a thrifted frame?) or you could keep it up with binder clips + nails. I also used some double sided tape on the back to keep the paper from rolling up on the bottom. Super easy and cute!
And here is a photo of Pip once again bitchface-photobombing a blog photoshoot. Someone get that cat her own damn blog.


Lovely idea! I am planning on making some changes in my bedroom and I would love to try this out.